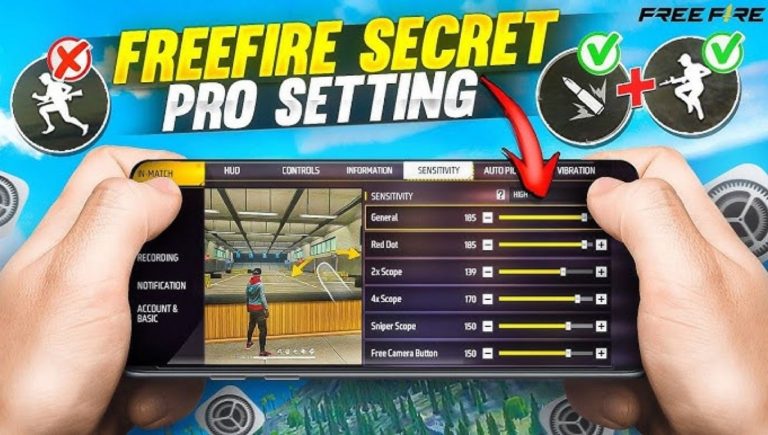
Free Fire, one of the most popular battle royale games on mobile, requires precision, strategy, and quick reflexes to succeed. While skills are essential, having the right pro settings—including DPI, HUD layout, and controls—can give you a significant competitive edge. This guide covers everything you need to know to optimize your Free Fire gameplay on both Android and iOS devices.
Understanding Free Fire Settings
Free Fire allows players to adjust various settings, including DPI (dots per inch), HUD (heads-up display), sensitivity, controls, and graphics. These settings directly impact your aiming, movement, and overall performance.
Factors to consider:
- Device performance: Older devices may require lower graphics for smoother gameplay.
- Playstyle: Aggressive players may prioritize fast sensitivity, while defensive players may focus on precision.
- Screen size: Your HUD layout should fit comfortably on your screen for optimal control.
Customizing these settings reduces reaction time, improves aiming accuracy, and can help you dominate ranked matches.
Best DPI Settings for Free Fire
DPI determines how quickly your crosshair moves when you swipe the screen. Choosing the right DPI is crucial for accurate aiming and fast reflexes.
Recommended DPI Settings
- Beginner players: 400–600 DPI
- Intermediate players: 600–800 DPI
- Professional players: 800–1000 DPI
DPI adjustment tips:
- Lower DPI: Slower movement, higher precision—ideal for sniping.
- Higher DPI: Faster movement—better for close-range combat.
- Consistency: Stick to a DPI setting to develop muscle memory.
On Android, DPI can often be adjusted via device settings or third-party apps. iOS users generally adjust sensitivity in-game instead.
Optimal HUD Layout for Competitive Gameplay
The HUD (heads-up display) is your in-game interface, including buttons for shooting, jumping, crouching, and using character skills. A cluttered HUD slows gameplay, while an optimized layout ensures quick access to essential actions.
HUD Customization Tips
- Button placement: Place frequently used buttons within thumb reach.
- Button size: Smaller buttons improve precision, larger buttons improve comfort.
- Skill buttons: Place character skills where they can be quickly activated.
- Peek and fire: Enables shooting without fully exposing yourself.
Pro player HUD example:
- Fire button: Bottom right
- Jump button: Middle-right
- Crouch/Prone: Bottom left
- Skill button: Above the fire button
Test your HUD layout in training mode before using it in ranked matches. The key is a balance between comfort and speed.
Pro Control Settings for Android and iOS
Control settings allow you to map buttons according to your preferences. Professional players customize controls to maximize efficiency during battles.
Recommended Controls
- Peek & Fire: Enabled for better cover shooting.
- Auto Sprint: Enabled for faster movement.
- Gyroscope: Use for precise aiming with tilt motion.
- Custom fire button: Place near your thumb for faster shooting.
Android vs iOS:
- Android devices allow more flexibility with third-party apps for DPI adjustments.
- iOS players rely on sensitivity and gyroscope for precise aiming.
Finding the perfect control setup is personal. Experiment until it feels natural and responsive.
Graphics Settings for Smooth Performance
Graphics settings affect both the visual quality and performance of the game. Smooth graphics enhance FPS, reducing lag and input delay, which is vital for competitive matches.
Recommended Graphics Settings
- Graphics quality: Smooth or Medium
- FPS: Max
- Anti-aliasing: Off
- Shadows & textures: Low or Medium
Higher FPS improves response times, making your movements and aiming more accurate. Adjust settings based on your device’s capability.
Sensitivity Settings Explained
Sensitivity settings control how quickly your crosshair moves while aiming. The right sensitivity is critical for both sniping and close-quarters combat.
Recommended Sensitivity Settings
- General: 90–100
- Red Dot: 80–90
- 2x Scope: 70–80
- 4x Scope: 60–70
- Sniper Scope: 50–60
- Free Look: 90–100
Tips:
- Adjust sensitivity gradually to avoid overcorrection.
- Use training mode to fine-tune before ranked matches.
- Combine with gyroscope for precise control, especially with scopes.
Tips to Optimize Free Fire Pro Settings
- Test settings regularly: Updates may affect performance.
- Prioritize comfort: Don’t sacrifice comfort for extreme settings.
- Practice in training mode: Test new HUD, sensitivity, and control layouts.
- Observe pro players: Learn from top-tier Free Fire player setups.
- Stay updated: Game updates may introduce new features and settings.
Frequently Asked Questions
What is the best DPI setting for Free Fire
The ideal DPI depends on your playstyle Beginners can use 400-600 DPI, intermediates 600-800 DPI, and professionals 800-1000 DPI
How do I customize my HUD layout in Free Fire
Go to settings and select HUD layout Move frequently used buttons within thumb reach and adjust their size for comfort and precision
Should I use gyroscope in Free Fire
Yes Gyroscope allows precise aiming by tilting your device and is especially helpful with scopes
What graphics settings are best for smooth gameplay
Use smooth or medium graphics, set FPS to max, turn off anti-aliasing, and keep shadows and textures low or medium
What sensitivity settings should I use for aiming
General: 90-100, Red Dot: 80-90, 2x Scope: 70-80, 4x Scope: 60-70, Sniper Scope: 50-60, Free Look: 90-100 Adjust gradually to find what feels comfortable
Conclusion
Optimizing your Free Fire pro settings for DPI, HUD, controls, sensitivity, and graphics is essential for improving gameplay on both Android and iOS. The right settings help you aim accurately, move faster, and react more efficiently in battles. While there is no single perfect setup, customizing your layout according to your device, playstyle, and comfort can give you a significant competitive advantage. Consistent practice with these settings, combined with learning from top players, will enhance your performance and help you climb the ranks in Free Fire.

